Choosing the perfect nude lipstick involves understanding skin tone undertones (warm or cool) for complementary shades. Key steps include lip exfoliation, hydration, strategic application, and blending edges for a seamless finish. Nude lipstick can enhance natural beauty and lip shape, with techniques like highlighting the cupid's bow for added dimension. Experts recommend using lip liner for dramatic looks while ensuring color doesn't bleed.
“Unleash your inner glamour with our comprehensive guide to achieving full, captivating lips using just nude lipstick! Discover the secret to selecting the perfect shade that complements your skin tone and enhances your natural beauty. Learn a step-by-step application process for professional results, from prep to blending. We’ll also share tips and tricks to make your nude lip look last all day. Get ready to turn heads with a simple yet stunning transformation!”
- Choosing the Right Nude Lipstick Shade for Your Skin Tone
- Prepping Your Lips for Optimal Lipstick Application
- Step-by-Step Guide to Applying Nude Lipstick Like a Pro
- Blending and Setting for Long-Lasting Results
- Tips and Tricks to Enhance Your Full Lip Look
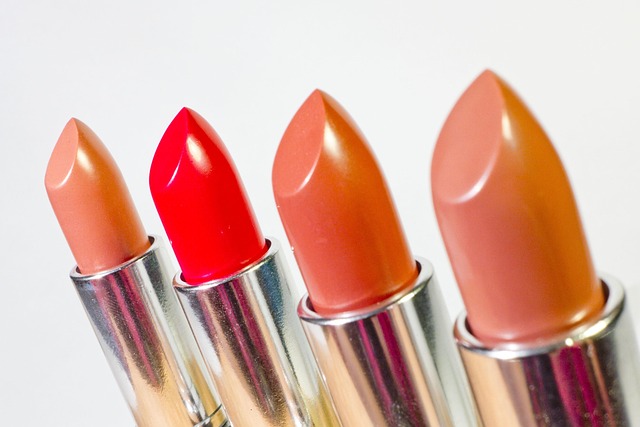
Choosing the Right Nude Lipstick Shade for Your Skin Tone
When aiming for full lips with lipstick, selecting the perfect nude shade is a crucial step. The right nude lipstick can enhance your natural lip color and make them appear fuller and more voluminous. To choose the best match for your skin tone, consider warm undertones versus cool undertones. For warm skin tones, opt for nudes with peachy or golden hues, which will complement your complexion beautifully. Cool-toned individuals should look for shades with pink or purple undertones, as these tend to make your lips pop while still maintaining a natural look.
Experimenting with different nude lipsticks allows you to find the ideal shade that flatters your unique skin tone. Start by trying on various options at a beauty store, swatching them on your wrist and comparing side by side. You can also research online tutorials or consult with a makeup artist to get personalized recommendations based on your specific skin tone and preferences. Remember, the key is to find a nude lipstick that makes you feel confident and enhances your natural beauty.
Prepping Your Lips for Optimal Lipstick Application
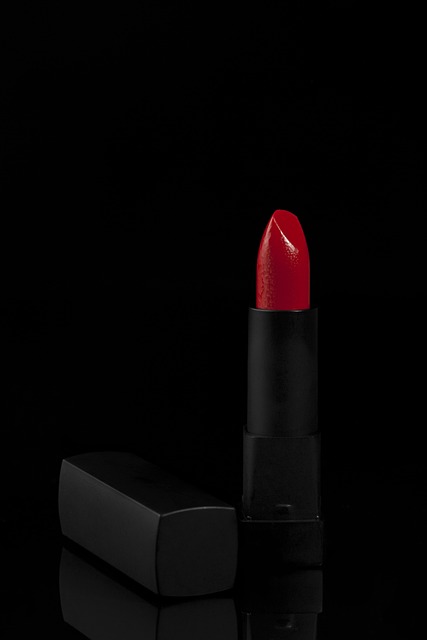
Before applying any lipstick, especially bold or vibrant shades, prepping your lips is crucial for achieving a flawless finish. Start by gently exfoliating your lips to remove dead skin cells, as this will ensure your lipstick glides on smoothly and lasts longer. Use a soft toothbrush or a lip scrub to massage your lips in circular motions. This simple step can make a significant difference in the overall appearance of your lips.
Next, hydration is key. Dry lips can crack and peel, causing your lipstick to look uneven and flake off quickly. Apply a hydrating lip balm or gloss, especially those formulated for sensitive lips, to create a smooth base. Allow it to sink in for a few minutes, and you’ll be ready to proceed with your chosen nude lipstick, ensuring a professional and long-lasting application.
Step-by-Step Guide to Applying Nude Lipstick Like a Pro
Achieving full, natural-looking lips with nude lipstick is an art, but it’s one anyone can master with a few simple steps. Start by preparing your lips; cleanse them gently to remove any dryness or flakes, and apply a hydrating lip balm to ensure a smooth base. Once your lips are plumped and soft, select your perfect nude shade—opt for something light and creamy for a subtle effect. Begin applying the lipstick in the center of your bottom lip, blending outwards with your finger or a brush for a precise finish. For the top lip, follow the natural curve of your cupid’s bow and blend upwards to create a soft, seamless look.
To enhance the effect, lightly line your lips with a nude pencil before applying the lipstick. This trick adds definition and helps prevent any color bleeding or smudging. Remember, less is more when it comes to nude lipstick—you want a natural enhancement, not a bold statement. Experiment with different shades and finishes to find the perfect nude that complements your skin tone and enhances your unique beauty.
Blending and Setting for Long-Lasting Results

To achieve long-lasting full lips with lipstick, blending and setting are crucial steps. After applying your chosen nude lipstick, gently blend the edges to create a natural transition with your skin tone. This ensures that your lips look smoothly defined rather than sharply outlined. Use a makeup sponge or your fingertips for this step, patting lightly to merge the colors. Once blended, set your lipstick by pressing a dusting of translucent powder over your lips. This will help extend the wear and prevent smudging throughout the day. The subtle opacity of a nude lipstick combined with this setting technique allows for a flawless, long-lasting look that enhances your natural lip shape without appearing overdone.
Tips and Tricks to Enhance Your Full Lip Look

To maximize the full lip effect with lipstick, consider these expert tips. One effective trick is to start by outlining your lips with a matching lip liner to define their shape and prevent color from bleeding. This creates a clean, precise line that makes your lips appear fuller and more distinct.
When choosing your shade, opt for a nude lipstick as it’s versatile and suitable for various skin tones. Nude lipsticks provide a natural look while enhancing the overall full lip illusion. To add dimension, apply a touch of highlight on the cupid’s bow—the small protrusion at the center top of your lips—for a subtle lift that makes them appear plumper.
Achieving full, stunning lips with nude lipstick is an art that combines the perfect shade selection, meticulous preparation, and precise application. By mastering these techniques, you can enhance your natural beauty and create a flawless, long-lasting look. Whether you’re a novice or looking to refine your skills, these steps ensure your nude lipstick application will be a game-changer for any occasion.